It helps that my husband is a butcher and we have the know-how to gather or grow our own food. But it wasn't always this way. In the last seven or so years that we've been living in this house, we have tried to take full advantage of the property we have and the resources available here.
I also have two small children who are very different eaters. My son will try anything; my daughter will not touch anything other than mac & cheese or Rice Krispies. When they were babies, I wanted the best for them, like every other mom. I tried organic baby food, but the expense was too much for us on a single income. So I started making my own baby food, and applesauce is probably one of the most useful things you can make at home. Besides, everyone likes it!
First you need a good supply of apples:

This is my neighbor's apple tree. It's really unusual in that it drops its apples early (like now- in June). If you look closely you can see them all over the ground. I believe they're Granny Smith apples, in that they're green to yellow and a bit tart. Through benign neglect, he has never sprayed the tree or ever fertilized it, so they're completely organic.
My son and I gathered up all the good ones on the ground and got a couple buckets (this is what drops off the tree in one day!)

Since they had been on the ground, my son gave the apples a bath. It was hot out and he got plenty wet, so he had a good time!

I got the materials ready: several clean bowls, large pots, my canner and eight pint jars with lids, and my applesauce strainer. This is really an antique, and while they are still made in this style, the wooden pestle is now made of plastic. I have tried several methods of mashing & straining the apples over the years, like through a food mill and a food processor, but this simple old-fashioned way is truly the best.

Now since this is a canning project as well (you could also freeze the finished product, but it does get watery when thawed) it's important to read the canning guide so you do all the steps properly to insure a safe product.

Once the apples have had their bath, I cut them in halves or quarters to make sure they're good all the way through. Since these have no pesticides on them, many have worms and those parts need to be cut out. But hey, if worms won't eat your apples, should you? ;)
I put the cut apples into a large stock pot and covered them with water. I actually needed two stockpots, plus I had to fill the canner with water and get that started heating as well, so my stove was full. Once the kitchen starts to smell like apples and they've simmered for about 20 minutes, they're ready to mash.

I got the strainer set up over a small bowl which I empty periodically into another large pot. You fill the strainer up with cooked apples and then just rotate the pestle around the inside. The sauce comes out through the holes on the side and drips down into the bowl. You then have to empty the strainer of the pulp and seeds (they make great compost!) before adding a new scoopful of apples.


Once you're done straining the apples you could stop there. If you like unsweetened and unseasoned applesauce, and you're not planning to can the finished product, you're done. For baby food, I freeze the unsweetened sauce in ice cube trays, which is a portion-size for infants.
But since I prefer to can it, I need to heat it up again on the stove. Let it get hot, and reduce it a little bit to get some of the water out. If you do want to add sugar and spices this is the time. I add a bit of lavender from my garden to give it a different flavor, along with cinnmon, nutmeg and brown sugar.
By this time, the water bath for the jars is hot and I put the clean jars in it to heat them up and to sterilize them. Once they're ready, I pull them out and fill them with the hot applesauce.
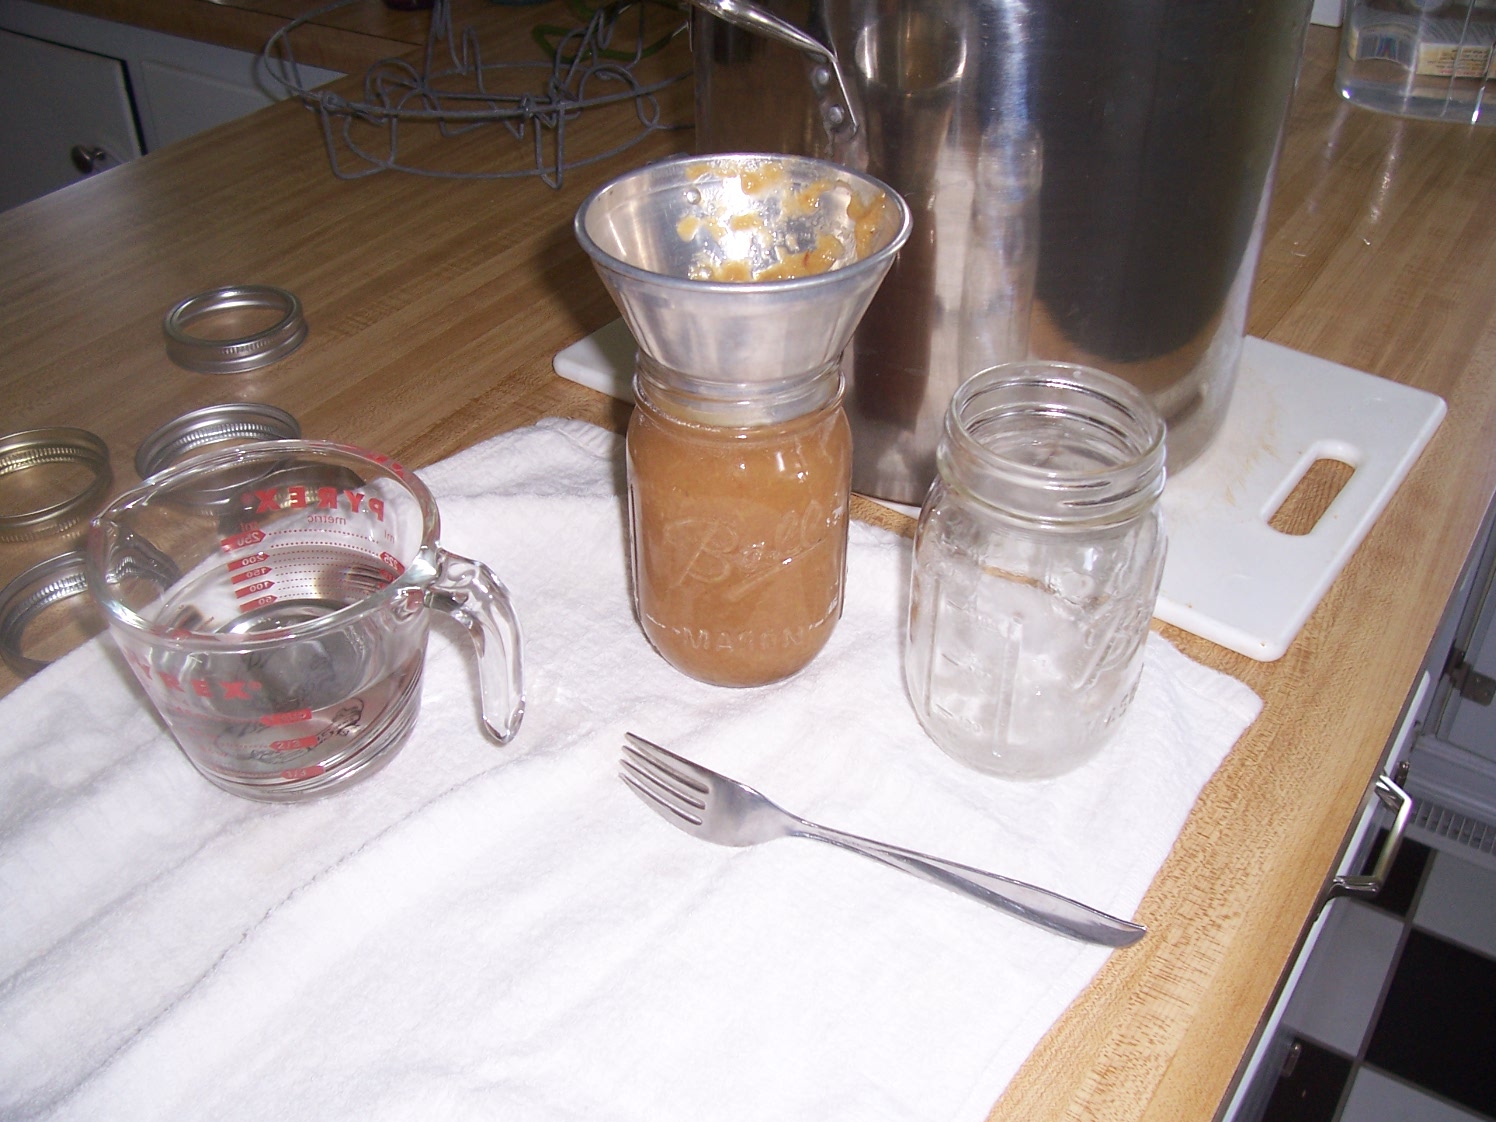
Make sure you leave about 1/2 inch headspace and clean around the rim with a towel before setting the lids on. Set the lids on and screw the bands on, but not too tightly- the air needs to bubble up from under the lid. Make sure everything stays hot throughout this whole process- the applesauce, the jars, the water in the canner- or you are inviting a disaster. This is why it is important to get your tools set up in advance and to know the process well enough that you don't have to stop what you're doing to look it up!

Put the jars into the canner and cover them with water. Boil for 10 minutes, which will seal the jars. Lift the jars out with a jar lifter or tongs and set them in on the counter to cool.

Make sure you check the seals and store them in a cool dark place!
Sounds yummy------applesauce is a staple at our house on the dinner table. I often make it with fresh apples but not enough to can.
ReplyDeleteHey, you like vintage stuff? I like vintage stuff! You like aprons? I like aprons?
ReplyDeleteLets' be friends!
And I am actually wearing an original 1940's housedress in today's post over at my blog... but I don't look nearly as cute in mine as you do in yours☺
I didn't know you could put applesauce in a boiling bath, I thought you had to pressure steam it. No?
ReplyDelete